Turn on two-factor authentication
One password stands between a stolen login and every response you have ever collected — the applications sitting on a recruitment form, the case notes on an intake form, the home addresses on an order form. Two-factor authentication puts a second step in front of that: a six-digit code that changes every thirty seconds and lives on a device in your pocket.
The standard is TOTP, the same one your bank's app uses, so whichever authenticator you already have will do. Setup runs to about two minutes and happens entirely in Settings. Nothing about your forms changes — the people filling them in never see a code, and never know the setting exists.
Enable it from Settings
Two-Factor Auth sits in the settings sidebar between Password and Appearance. The card for it on the settings hub carries a small stat reading Enabled or Disabled, which is the quickest way to check where an account stands.
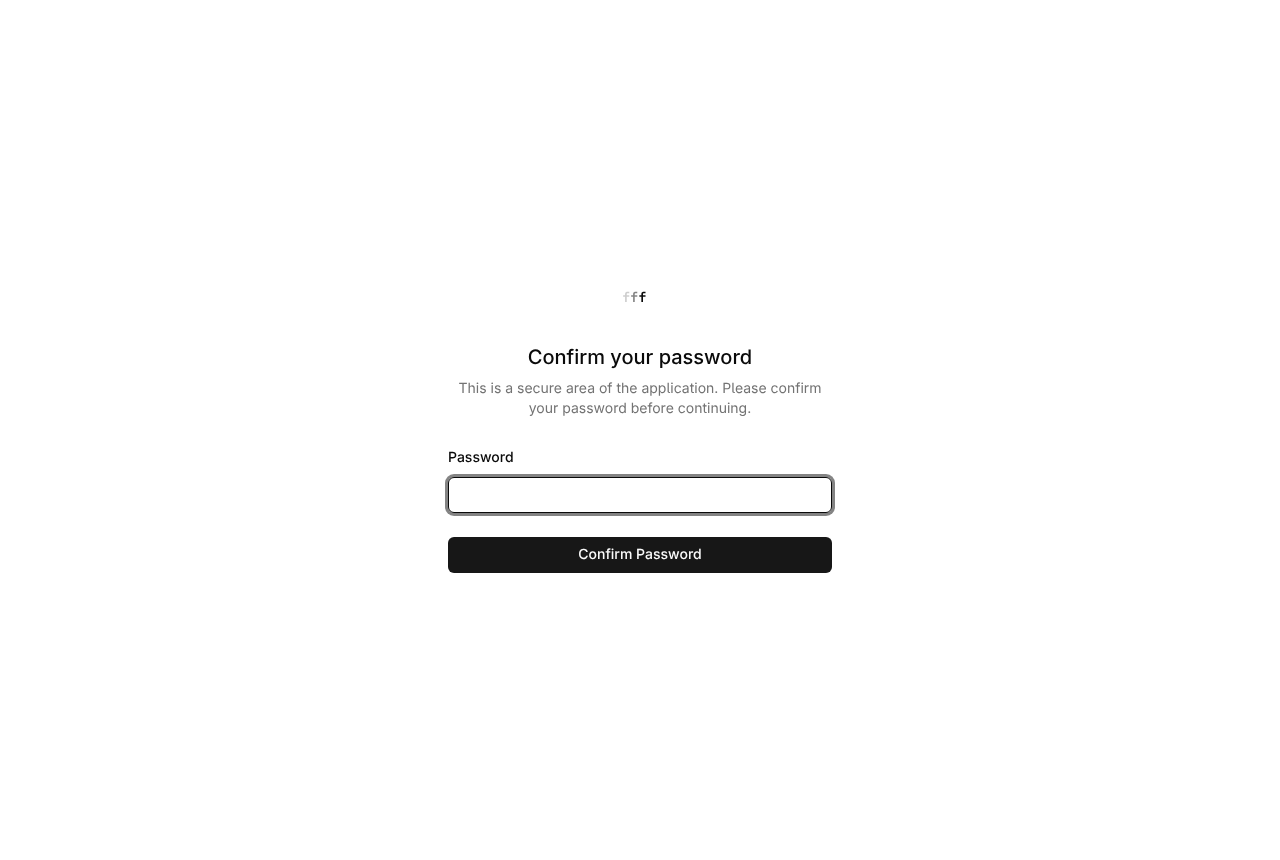
The password confirmation lasts three hours. Come back inside that window and the page opens straight away; come back the next morning and it asks again.
- 1
Open the account menu, click Settings, then Two-Factor Auth in the sidebar.
- 2
Type your password on the "Confirm your password" screen and click Confirm Password.
- 3
Click Enable 2FA. A dialog headed "Enable Two-Factor Authentication" opens with a QR code in it.
- 4
Scan the QR code with your authenticator app. If a camera is no help — you are setting this up on the phone itself, say — use the setup key under "or, enter the code manually" and the copy button beside it.
- 5
Click Continue.
- 6
Type the six digits your app is showing into the boxes on the Verify Authentication Code step.
- 7
Click Confirm. The red Disabled badge on the page turns to Enabled.
Setup is not finished until you click Confirm. Close the dialog but stay on the page and the button reads Continue Setup, which picks up where you left off; reload the page and the half-made secret is thrown away instead. An entry left in your authenticator from an abandoned attempt will produce codes that are never accepted — delete it and scan the fresh QR code. If the page sends you to verify your email first, do that: the two-factor screen sits behind email verification.
Store the recovery codes
A card headed "2FA Recovery Codes" appears under the Enabled badge. Click View Recovery Codes and eight of them are revealed. These are the way back in when the authenticator is not to hand — a phone left in a taxi, a wiped handset, a work laptop you handed back on your last day.
Each code works once and is removed after use. When the list runs thin, Regenerate Codes sits beside the View button while the codes are showing and replaces all eight in one go, which also kills any copy you printed earlier.
Keep them somewhere that is not the device running the authenticator. A password manager entry or a printed sheet in a drawer both work. A screenshot in the phone's camera roll defeats the point, because the phone is the thing you are insuring against.
Signing in from then on
Email and password come first, as before. The next screen is headed Authentication Code and holds six single-character boxes; type the current code and click Continue. Beneath sits a link reading "login using a recovery code", which swaps the boxes for one field where a recovery code goes instead.
Wrong codes are throttled at five attempts a minute, so a code that has just rolled over is worth retyping calmly rather than hammering. Signing in from the REST API or the command line meets the same gate: the sign-in call hands back a two-factor challenge in place of a token, and the challenge is only good for five minutes.
TOTP codes depend on your phone's clock. If every code is refused while the password is definitely right, check that automatic date and time is switched on — a minute of drift is enough to break all of them.
Turning it off, and what it does not cover
Disable 2FA is a red button on the same page, behind the same password confirmation. It clears the secret and the recovery codes together, so switching back on later means a new QR code and a new set of eight. The old authenticator entry is dead at that point and can go.
Worth being plain about the boundary. Two-factor authentication guards the door to your account: the forms list, the Submissions tab, exports, notification settings. It has no bearing on the private key of an encrypted form. That key never reaches our servers, so no login setting can protect it and none can recover it — those are two separate things to look after.
Enabling 2FA does not sign out connections that are already authorised. An existing Zapier connection keeps firing and issued API tokens keep working. The Zapier page in the same sidebar lists the live subscriptions per form, and each can be removed there.
Frequently asked questions
Which authenticator app works with formformform?
Any app that supports TOTP, which is nearly all of them — the QR code and the setup key follow the standard rather than anything of ours. Most password managers now generate the codes as well, which keeps the code and the password in one vault.
I have lost my phone and my recovery codes — can 2FA be reset?
There is no self-serve reset in the app, and no member of staff can produce a code for you. Recovery codes are the route back that you control, which is why they are worth saving before you need them. If both are gone, write to hello@formformform.com from the address on the account and expect identity checks.
Does two-factor authentication protect the responses on an encrypted form?
It protects the account those responses arrive into, not the responses themselves. On an encrypted form the answers are sealed with your private key and stay sealed to anyone without it — including someone holding your password. The two measures stack; neither replaces the other.
Related articles
- How encrypted forms work
Responses are sealed in the visitor's browser with OpenPGP and opened only by a private key you hold.
- Read and search your responses
Every response lands in the form's Submissions tab, where you can search it and open any one of them in full.
- Using the REST API
Create a key in Settings, then build and edit forms or read responses from your code or AI agent.
- Connect your forms to Zapier
Authorise your account once, then fire a Zap the moment one of your forms is submitted.
Nothing here answering your question? The editor is quick enough that trying it is often faster than reading about it.
Open the editor