Start from a template
A template is a real form with the typing already done: fields in order, labels written, placeholders filled in, the right ones marked required, and a submit button that says something more useful than Submit.
Nothing in it is fixed. The moment a template lands in your account it is an ordinary form of yours — a copy, with no link back to the original. Rename its fields, delete half of them, add three more; the gallery version stays as it was.
Pick one from the gallery
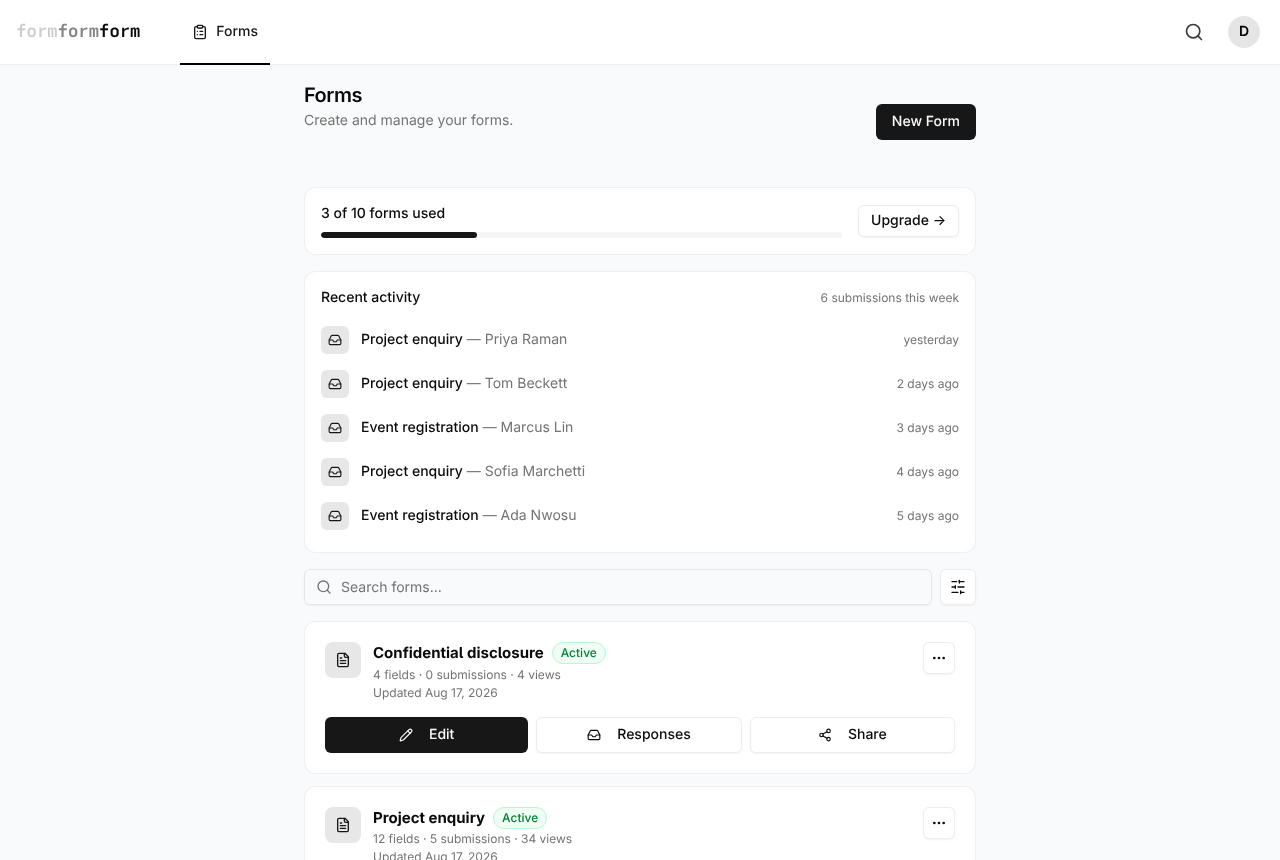
Two doors lead to the same set of templates. Inside the app, New Form on the Forms list opens a chooser offering Blank form and From template. On the formformform site, every template page carries a Use this template button — signed out, it sends you to registration and the form is waiting when you finish.
- 1
Click New Form on the Forms list. An account with no forms yet shows Create your first form instead.
- 2
Pick From template in the Create a new form dialog.
- 3
Narrow the list with the Categories sidebar — Customer Engagement, Business, Events, Human Resources, Healthcare and the rest, each showing its count. The A–Z and Popular buttons reorder it.
- 4
Or type into Search templates, which matches names, descriptions and individual field labels. Ctrl+K (⌘K on a Mac) focuses the box; Escape clears it.
- 5
Click a card. The preview shows the form as a respondent will see it, next to a Form title box.
- 6
Adjust Form title, then click Create Form. The editor opens on the Fields tab.
A new form is accepting submissions from the moment it exists, so its public link works before you have touched anything. To keep it quiet while you edit, open Settings, go to Notifications and turn off Form is accepting submissions.
What it brings, and what it leaves out
Fields arrive complete — type, label, placeholder, dropdown and checkbox options, required flags, headings, dividers and the button wording. The Contact Form template lands as a heading, an intro paragraph, Full Name, Email Address, Phone Number, Message and a Send Message button, three of them already required.
What no template brings is conditional logic, page breaks or a File Upload field. An expense report that should carry a photo of the receipt needs the upload field putting in by hand.
Templates that ask for money — Donation Form, Order Request — can collect it too. After cloning, add products or priced options, connect Stripe, PayPal, or Square, and send respondents to secure hosted checkout after submission.
Rework the fields it gave you
The Fields tab lays the template out down the page in the order a respondent reads it, with the palette on the left grouped into Essentials, Input, Choice, Upload and Layout. Nothing needs saving: each change goes to the server on its own and a Field updated toast confirms it.
- 1
Click a field to select it. Label, placeholder, description, options and a Required switch appear in the side panel.
- 2
Retype a label or heading straight in the page — the text is editable where it sits, and commits when you click away.
- 3
Delete anything spare with the button at the top right of the field, then confirm with Yes. The last Submit Button will not delete; a form has to keep one.
- 4
Add what is missing from the palette: File Upload under Upload, Date and Phone under Input, Dropdown, Radio and Checkbox under Choice, Page Break and Hidden under Layout. Click an entry to append it, or drag it into place.
- 5
Reorder by dragging a field — the whole row is the handle.
File Upload accepts 2 MB per file. That is a hard ceiling: a bigger file is rejected outright, so ask for a phone photo rather than a scan at full resolution.
Settings a template never carries
A template is fields only. Everything that happens after somebody presses the button is still on defaults, and the Settings tab is where you fix that — five sub-tabs, one Save Changes button that commits them all.
General holds Title and Description and shows the public URL. After Submission is where you replace the thank-you message or paste a Redirect URL. Notifications carries Email me on new submissions. Integrations holds webhooks and Zapier. Encryption is the one worth deciding early.
End-to-end encryption can be switched on after a template is copied, but only until the first submission arrives — after that the setting is frozen, since re-keying would orphan responses tied to the old key. An encrypted form's responses, uploads included, are readable only with your key. Lose it and nothing recovers them.
Frequently asked questions
If I edit my copy, does the template change for everyone else?
No. Choosing a template copies its fields into a new form owned by you, and the copy is cut at that moment. Edits to yours never travel back to the gallery.
Can I save one of my own forms as a template?
Not into the gallery, which is curated. Duplicate instead: on the Forms list, open the ... menu on any form and choose Duplicate form. It copies the fields under a new title — enough for running the same form again next quarter.
Which template should I pick if people need to attach a file?
Any of them, then add the field yourself. No template ships with a File Upload field, so pick the one whose questions match — Job Application, Expense Report — and add File Upload from the Upload section of the palette. The limit is 2 MB per file, and uploads to an encrypted form are stored encrypted too.
Related articles
- Create your first form
From the New Form button to a link worth sending, in four passes through the editor.
- How the form editor works
The editor has three parts — palette, form, field settings — and edits to fields save as you make them.
- Every field type, and when to use it
A tour of the palette: what each field type collects, and which one fits the answer you want back.
- Publish a form and get its link
A form is live the moment you create it — how to check it, copy its link, and close it again.
Nothing here answering your question? The editor is quick enough that trying it is often faster than reading about it.
Open the editor