Create your first form
A form in formformform exists before you have put anything in it. You pick a starting point, the app creates the form, and the editor opens with a public URL already live. There is no separate publish step later.
This walkthrough takes a project enquiry form from New Form to a link you can paste into a message.
Pick a starting point
Blank is quicker when you already know your four questions. A template is worth the detour when you want to see what a form of that kind usually asks.
- 1
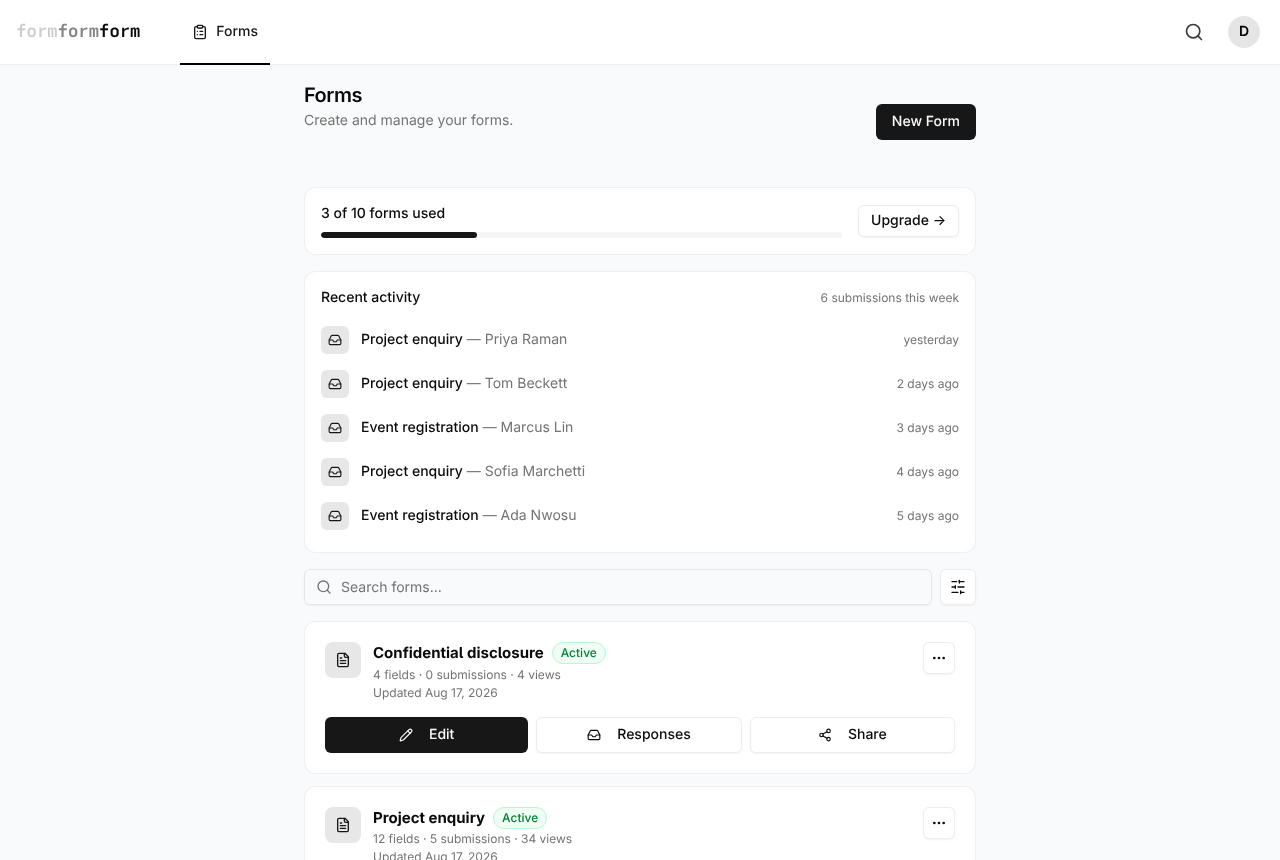
Open the Forms page and choose New Form, top right. On a new account the button sits in the empty state and reads Create your first form.
- 2
In the Create a new form dialog, choose Blank form or From template. A third option, Describe it with AI, appears when a generator is configured — it is a single setting for the whole service, not something switched on per account.
- 3
Blank form opens the editor with three things in it: a heading carrying the form's name, one Short Text field labelled Untitled field, and a Submit button.
- 4
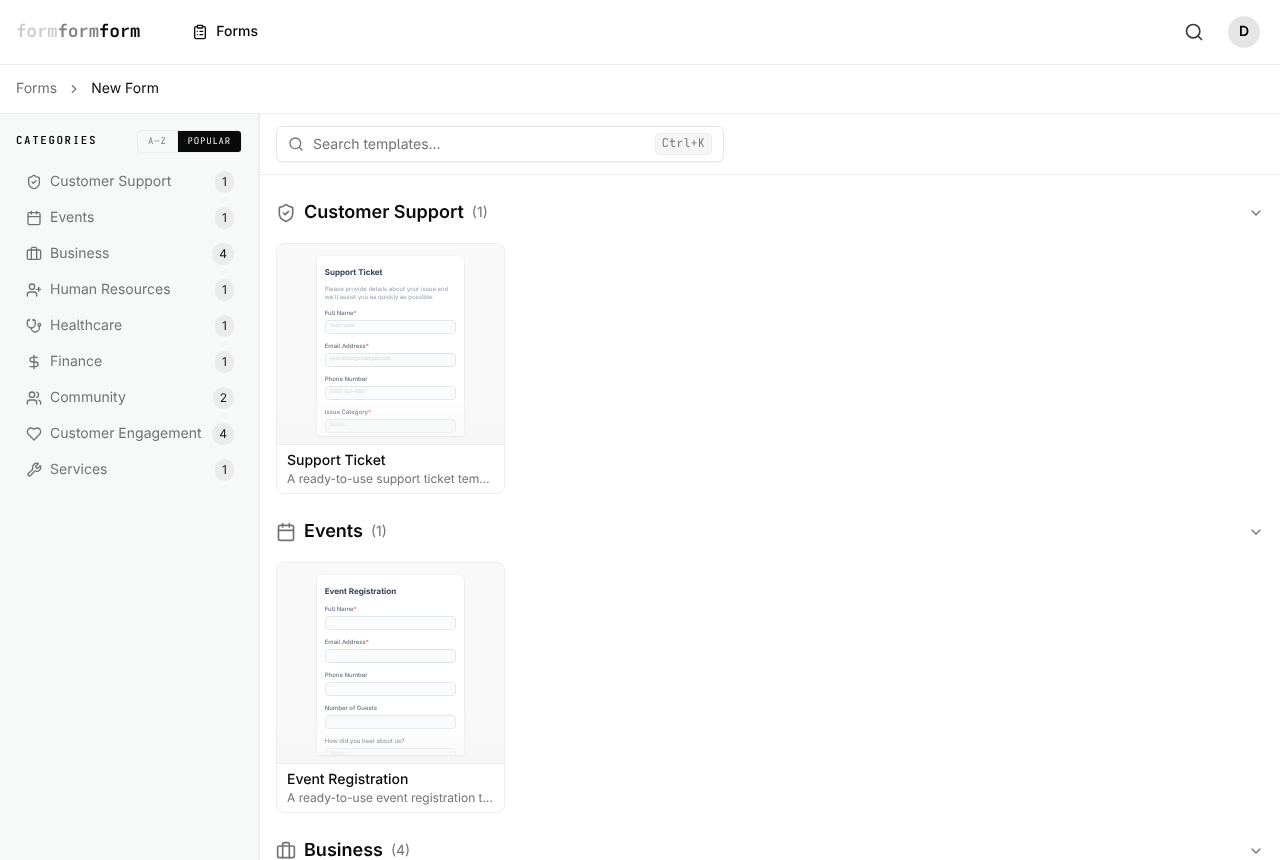
From template opens the gallery. Filter by category or search (Ctrl+K, ⌘K on a Mac), click a template for its preview, set Form title, then choose Create Form.
The form accepts submissions the moment it is created; there is no draft state. To hold it back, turn off Form is accepting submissions on the Notifications sub-tab of Settings.
Build it on the Fields tab
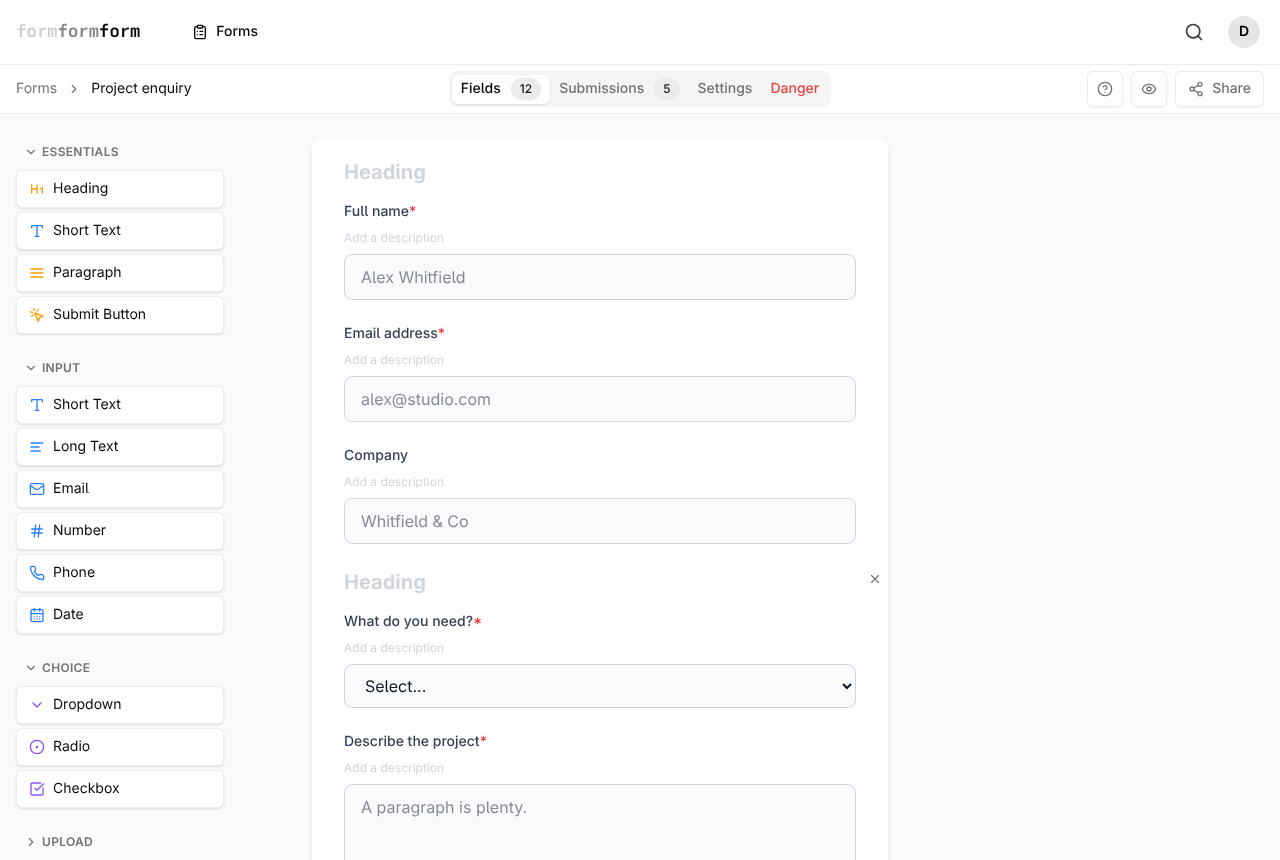
The editor is a document, not a canvas: the middle column is the form as a visitor will see it, and fields go in line by line. The enquiry form needs Short Text for the name, Email for the address, a Dropdown for the kind of work, and Long Text for the description.
- 1
The palette runs down the left in five groups: Essentials, Input, Choice, Upload and Layout. Click a type to add it at the end, or drag it between two fields to place it exactly.
- 2
Click a field in the middle column to select it. Field Properties opens on the right, with the field's type shown as a badge.
- 3
Fill in Label (what the visitor reads), Description (the help line under it) and Placeholder (the faint example in the box).
- 4
Turn on Required for anything you cannot follow up without — an email address qualifies, a company name usually does not.
- 5
Drag fields by their handles to reorder them, and use Heading and Divider to break a long form into sections.
The Fields tab has no save button; each change is written as you make it. File Upload takes one file per field, up to 2 MB — anything larger is refused, so for big attachments ask for a link.
Decide what happens after someone submits
The Settings tab covers everything that is not a field, across five sub-tabs: General, After Submission, Notifications, Encryption and Integrations. Three matter for a first form.
- 1
General holds Title and Description, and shows the Public URL. Rename the form and the URL follows; old links keep working.
- 2
After Submission is where you write the Thank you message, or paste a Redirect URL to send people to a page of your own.
- 3
Notifications has Email me on new submissions, and the Form is accepting submissions switch that takes the form offline.
- 4
Choose Save Changes at the bottom. Settings, unlike fields, are not written until you do.
Encryption is the setting to think twice about. Turning it on generates a keypair and hands you the private key to download; responses and uploaded files are then readable only in a browser holding that key. Lose it and those responses are gone — nobody at formformform can recover it.
Preview, then share the link
Preview is worth thirty seconds: a field marked Required by accident announces itself as soon as you submit the form yourself.
- 1
Choose the eye icon at the top right. Form Preview shows the form as a visitor receives it.
- 2
Choose Share. The dialog leads with the public URL and a Copy button, with Open in new window, Email, WhatsApp and Post alongside.
- 3
The QR code tab draws a code for print, Embed gives you the snippet for your own site, and Developer covers the API side.
- 4
Send the link. Submissions arrive on the Submissions tab, one along from Fields.
The Share dialog shows a green Online badge only while the form is accepting submissions. If it is missing, the switch under Settings, Notifications is off.
Frequently asked questions
Do I have to publish the form before people can fill it in?
No. A form accepts submissions from the moment it is created, and its URL works immediately. The switch that stops it is Form is accepting submissions, on the Notifications sub-tab of Settings.
Where do the answers turn up?
On the Submissions tab of the same editor, one along from Fields. Each response opens in full, and the whole set can be exported.
Can I take payment through a form?
Yes. Add products and priced options to the form, then collect payment through secure hosted checkout with Stripe, PayPal, or Square. Payment status is tracked alongside the response.
Related articles
- Start from a template
Pick a ready-made form from the gallery, name it, then rework the fields it brings.
- How the form editor works
The editor has three parts — palette, form, field settings — and edits to fields save as you make them.
- Every field type, and when to use it
A tour of the palette: what each field type collects, and which one fits the answer you want back.
- Share a form by link
Every form has a public link from the day it is created — here is where to find it and how to send it.
- Publish a form and get its link
A form is live the moment you create it — how to check it, copy its link, and close it again.
Nothing here answering your question? The editor is quick enough that trying it is often faster than reading about it.
Open the editor